WebThings Gateway
WebThings is an open source implementation of the Web of Things, including the WebThings Gateway and the WebThings Framework.
WebThings is an open source implementation of the Web of Things, including the WebThings Gateway and the WebThings Framework.
# WebThings Gateway
[](https://github.com/WebThingsIO/gateway/actions?query=workflow%3ABuild)
[](LICENSE)
WebThings Gateway is a self-hosted web application for monitoring and controlling a building over the web.
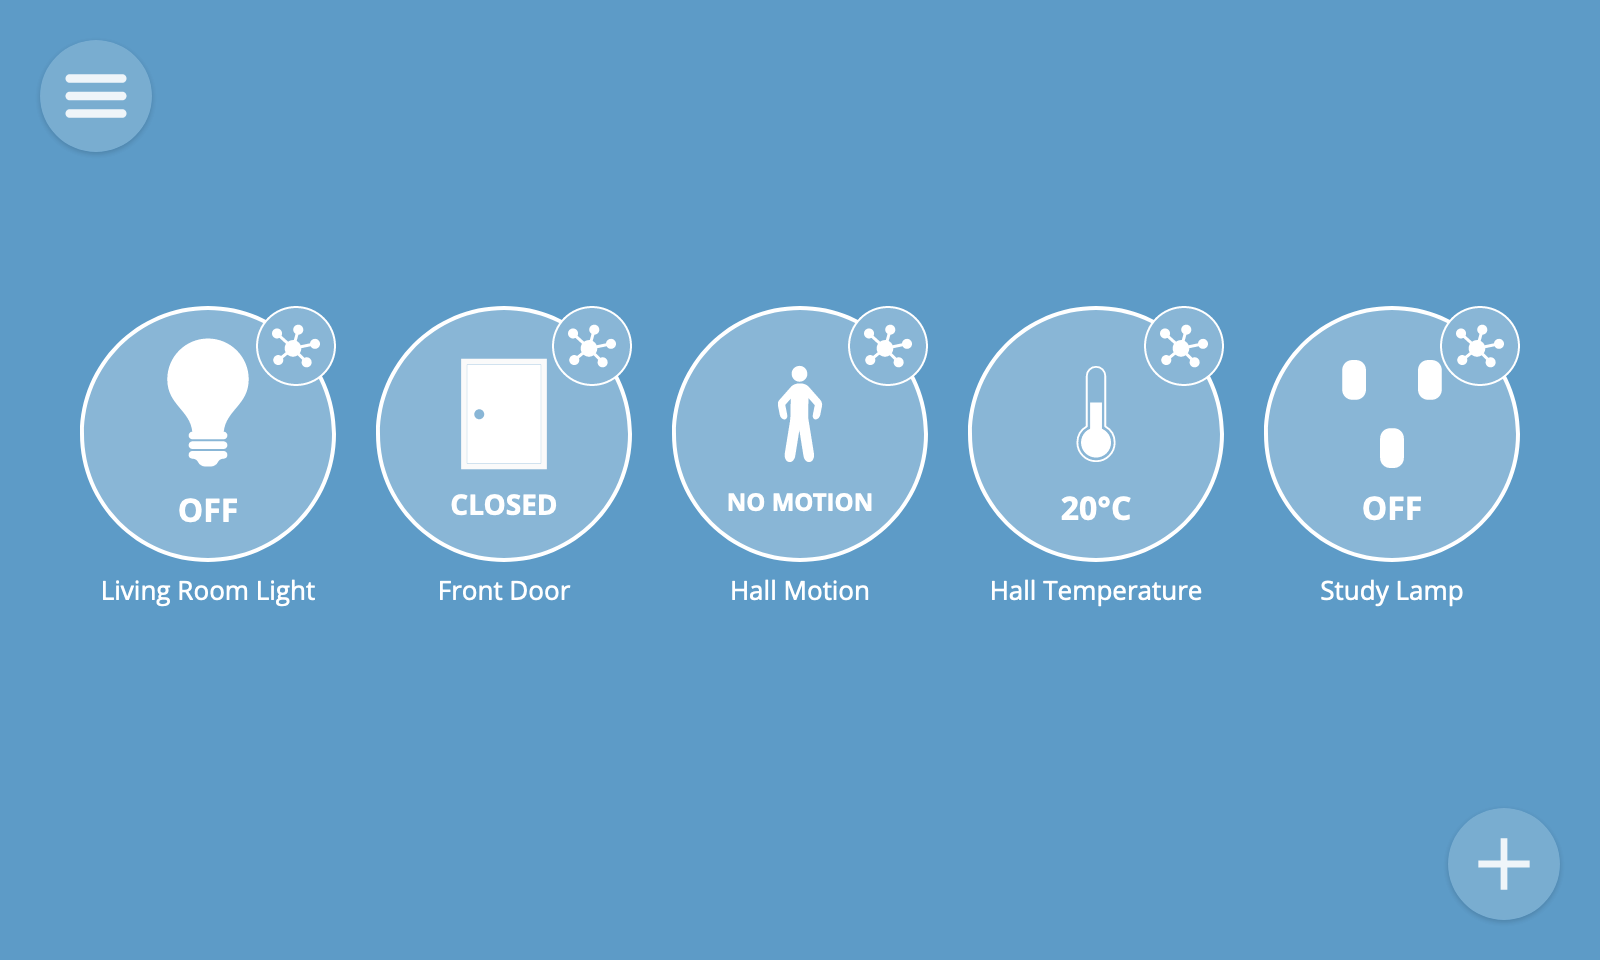
It is an open source [Web of Things](https://www.w3.org/WoT/) gateway.
## Installation
As of the 2.0 release, the recommended way to install WebThings Gateway is using the [Docker image](https://hub.docker.com/r/webthingsio/gateway). There is also an experimental [snap package](https://snapcraft.io/webthings-gateway), or you can build from source yourself (see below).
## Documentation
- [Documentation](https://webthings.io/docs/gateway/introduction/)
- [Installation](https://webthings.io/docs/gateway/installation/)
- [Development](https://webthings.io/docs/gateway/hacking/)
- [Wiki](https://github.com/WebThingsIO/wiki/wiki)
## Community
- [Community](https://webthings.io/community)
- [Discourse](https://discourse.mozilla.org/c/iot)
- [Matrix](https://matrix.to/#/#iot:mozilla.org) (`#iot:mozilla.org`)
## Prerequisites for Building
### Install OS
(If you're just installing on your PC, you can skip this step).
If you're installing on a Raspberry Pi then you may need to set up the OS on the Raspberry Pi first. [See here](https://github.com/WebThingsIO/wiki/wiki/Setting-up-Raspberry-Pi) for instructions.
### Install Dependencies
#### Ubuntu/Debian Linux
```
$ sudo apt update
$ sudo apt install \
autoconf \
build-essential \
curl \
git \
libbluetooth-dev \
libboost-python-dev \
libboost-thread-dev \
libdbus-1-dev \
libffi-dev \
libglib2.0-dev \
libpng-dev \
libudev-dev \
libusb-1.0-0-dev \
pkg-config \
python3-six \
python3-pip \
$ sudo -H python3 -m pip install git+https://github.com/WebThingsIO/gateway-addon-python#egg=gateway_addon
```
#### Fedora Linux
```
$ sudo dnf --refresh upgrade
$ sudo dnf group install "C Development Tools and Libraries"
$ sudo dnf install \
autoconf \
bluez-libs-devel \
boost-devel \
boost-python2-devel \
boost-python3-devel \
curl \
git \
glib2-devel \
libffi-devel \
libpng-devel \
libudev-devel \
libusb1-devel \
pkgconfig \
python2-pip \
python3-pip
$ sudo -H python2 -m pip install six
$ sudo -H python3 -m pip install git+https://github.com/WebThingsIO/gateway-addon-python#egg=gateway_addon
```
#### macOS
```
$ brew update
$ brew install \
autoconf \
libffi \
pkg-config \
python@3.10 \
dbus
$ sudo -H python3 -m pip install git+https://github.com/WebThingsIO/gateway-addon-python#egg=gateway_addon
```
To get DBus to build properly, you currently need to symlink `python` to `python3` if a python binary is not already available. E.g.
```
$ echo 'export PATH=/opt/homebrew/opt/python@3.10/libexec/bin:$PATH' >> ~/.zprofile
$ source ~/.zprofile
```
### Install Node.js
#### nvm (Recommended)
nvm allows you to easily install different versions of node. To install nvm:
```
$ curl -o- https://raw.githubusercontent.com/nvm-sh/nvm/v0.37.2/install.sh | bash
```
Reinitialize your terminal session.
```
$ . ~/.bashrc
```
#### Manual
(If you already installed node via nvm you can skip this step)
Follow the directions from [NodeJS](https://nodejs.org) to install on your platform.
### Set up Bluetooth permissions (Linux only)
The following is required in order to let node and python3 use the Bluetooth adapter.
```
$ sudo setcap cap_net_raw+eip $(eval readlink -f `which node`)
$ sudo setcap cap_net_raw+eip $(eval readlink -f `which python3`)
```
## Download and Build Gateway
- Clone the GitHub repository (or fork it first):
```
$ git clone https://github.com/WebThingsIO/gateway.git
```
- Change into the gateway directory:
```
$ cd gateway
```
- If you have chosen to install nvm above, install and use an LTS version of node and then set the default version. The **`.nvmrc`** file will be used by nvm to determine which version of node to install.
```
$ nvm install
$ nvm use
$ nvm alias default $(node -v)
```
- Verify that node and npm have been installed:
```
$ node --version
v20.19.6
$ npm --version
10.8.2
```
Note: these versions might differ from the LTS version installed locally.
- Install dependencies:
```
$ npm ci
```
- Add Firewall exceptions (Fedora Linux Only)
```
$ sudo firewall-cmd --zone=public --add-port=4443/tcp --permanent
$ sudo firewall-cmd --zone=public --add-port=8080/tcp --permanent
$ sudo firewall-cmd --zone=public --add-port=5353/udp --permanent
```
- Set up domain:
- If you plan to use the provided tunneling service to set up a `_.webthings.io` domain:
- Start the web server:
```
$ npm start
```
- Load http://localhost:8080 in your web browser (or use the server's IP address if loading remotely). Then follow the instructions on the web page to set up domain and register. Once this is done you can load https://localhost:4443 in your web browser (or use the server's IP address if loading remotely).
- If you plan to use your own SSL certificate:
- The HTTPS server looks for `privatekey.pem` and `certificate.pem` in the `ssl` sub-directory of the `userProfile` directory specified in your config. You can use a real certificate or generate a self-signed one by following the steps below.
```
$ WEBTHINGS_HOME="${WEBTHINGS_HOME:=${HOME}/.webthings}"
$ SSL_DIR="${WEBTHINGS_HOME}/ssl"
$ [ ! -d "${SSL_DIR}" ] && mkdir -p "${SSL_DIR}"
$ openssl genrsa -out "${SSL_DIR}/privatekey.pem" 2048
$ openssl req -new -sha256 -key "${SSL_DIR}/privatekey.pem" -out "${SSL_DIR}/csr.pem"
$ openssl x509 -req -in "${SSL_DIR}/csr.pem" -signkey "${SSL_DIR}/privatekey.pem" -out "${SSL_DIR}/certificate.pem"
```
- Start the web server:
```
$ npm start
```
- Load https://localhost:4443 in your web browser (or use the server's IP address if loading remotely). Since you're using a self-signed certificate, you'll need to add a security exception in the browser.
## Debugging
If you are using VS Code, simply use the "launch" target. It will build the gateway in debugger mode.
If you are not using VS Code, run `npm run debug` and it will build the gateway and launch it with `--inspect`.
## Testing
### Install Additional Dependencies
In order to run the browser tests, you'll need to install [Google Chrome](https://www.google.com/chrome/index.html) and a JDK (e.g. OpenJDK).
### Running Tests
To run the linter and all tests:
```
$ npm run test
```
To run a single test:
```
$ npm run jest build/test/{test-name}.js
```
## Source Code Structure
- **`config/`** - Gateway configuration files
- **`deb/`** - Tools for building .deb packages
- **`docker/`** and **`Dockerfile`** - Tools for building Docker image
- **`image/`** - Tools for building the Raspberry Pi image
- **`rpm/`** - Tools for building .rpm packages
- **`src/`**
- **`addons-test/`** - Add-ons used strictly for testing
- **`controllers/`** - App URL routes and their logic
- **`iso-639/`** - Small utility for interacting with ISO-639 data, i.e. locale names
- **`models/`** - Data model and business logic
- **`platforms/`** - Platform-specific functionality
- **`plugin/`** - Utility classes and methods used by add-ons
- **`rules-engine/`** - The rules engine
- **`test/`** - Integration and unit tests
- **`views/`** - Handlebars templates
- **`addon-loader.ts`** - Script used for starting up Node-based add-ons
- **`addon-manager.ts`** - Manages add-ons (e.g. Zigbee, Z-Wave)
- **`addon-utils.ts`** - Utilities for add-ons, e.g. for reading the manifests
- **`app.ts`** - The main back end
- **`certificate-manager.ts`** - Certificate registration and renewal, via Let's Encrypt
- **`constants.ts`** - System-wide constants
- **`db.ts`** - Manages the SQLite3 database
- **`deferred.ts`** - Wraps up a promise in a slightly more convenient manner for passing around, or saving
- **`ec-crypto.ts`** - Elliptic curve helpers for the ES256 curve
- **`errors.ts`** - Common error classes
- **`jwt-middleware.ts`** - Express middleware for determining authentication status
- **`log-timestamps.ts`** - Utilities for adding timestamps to console logging functions
- **`migrate.ts`** - User profile migration
- **`oauth-types.ts`** - OAuth types
- **`passwords.ts`** - Password utilities
- **`platform.ts`** - Platform-specific utilities
- **`push-service.ts`** - Push notification service
- **`router.ts`** - Routes app URLs to controllers
- **`sleep.ts`** - Small utility to implement a promise-based sleep
- **`tunnel-service.ts`** - Utilities to determine state of tunnel and manage the PageKite process
- **`user-profile.ts`** - Manages persistent user data
- **`utils.ts`** - Various utility functions
- **`wifi-setup.ts`** - Initial Wi-Fi setup code for Raspberry Pi OS
- **`static/`** - Static CSS, JavaScript & image resources for web app front end
- **`tools/`** - Helpful utilities (not part of the build)
- **`package.json`** - npm module manifest
Deploy Node-RED applications in a reliable, scalable and secure manner. The FlowForge platform provides DevOps capabilities for Node-RED development teams.
Privacy-first home assistant.
Integration platform for the Internet of Things, focused on building automation, smart metering, ambient assisted living, process automation, visualization and data logging.
Browser-based flow editor that helps you wiring hardware devices, APIs and online services to create IoT solutions.
Scalable MQTT broker. Connect 100M+ IoT devices in one single cluster, move and process real-time IoT data with 1M msg/s throughput at 1ms latency.